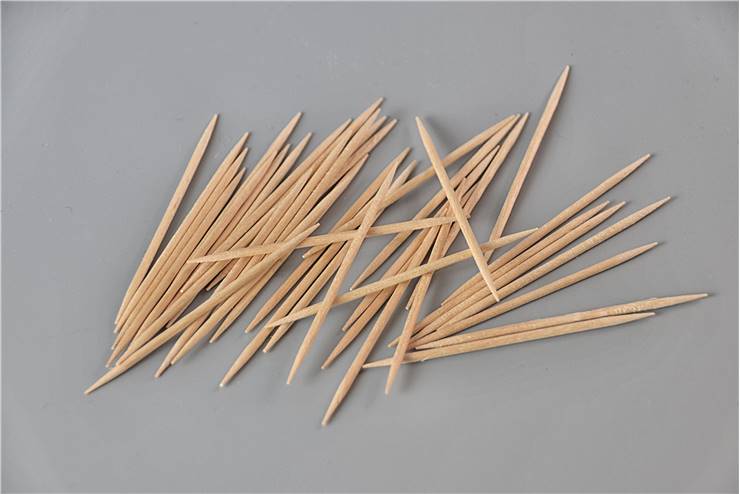
Toothpick Bridge - How To Build A Simple Toothpick Bridge
Toothpick bridge is a simple construction method that is used by many students and engineers from all around the world who want to learn more about the basic processes of bridge building, truss structures, structural strength, resilience, capacity, main forces that affect the bridge components (tensile strength, twisting, torsion, load bearing testing and more), creativity and experimental bridge designs. Even though elaborate school-grade toothpick bridges (for example of fully arched design) can weigh over a pound, smaller bridges in the range of 100 grams can carry the load of four or five fully solid bricks!
Toothpick bridges created in large competitions can be made from several thousand elements and can carry weights of several hundred (even thousand) pounds.
Because of the inexpensive nature of build material and the possibility of the creation of very solid bridges, toothpick bridges are often practiced not only in engineering schools but also in competitions. The lessons learned from school or university can be realized in a fully featured bridge that will emulate all the principles of construction, force distribution and capacity that may later apply to a full-sized bridge structure. Competitions or rules enforced by teachers can place extra strain on students, forcing them to create smart decisions when building their truss structures, forcing them to use a specific number of anchor points, the length of decking, type of toothpicks (flat or curved), type of glue and course number of toothpick elements used.

Building a toothpick bridge in schools is often found in physics or math classes in junior or high school, where in addition to the process of building the bridge students sometimes also have to get involved into algebra calculations of determining tension and compression effects of in each structural piece of the bridge design.
The most simple bridge designs can even be produced without the glue! Instead of it, the user can use gumdrops or marshmallows and simply use them as joint points.
Toothpick Bridge Tips
Here are some general tips for building toothpick bridges:
- If the bridge is built for competition or school assignment, get informed about the rules. Pick eligible toothpick type (flat or round), glue, a method of grading bridge (span, a load on top or suspended from the center), the number of toothpicks allowed (maximum or minimum), weight limits (upper and lower), is stick cutting allowed and more.
- Pick a truss type you wish to use (Pratt, Howe, Warren, Lattice, etc.) and then design the bridge on paper. Having a design prepared can help a lot during construction of the bridge.
- Saving the records of your previously built bridges can help you identify possible improvements in your new bridges.
- When designing the bridge, don’t think only in two dimensions (for example separate construction of decking, bridge walls and optionally roof). Think also about three-dimensional truss elements, such as pyramids.
- Create truss elements that are made from perfect triangles. Non-equal sides of the triangles can cause an imbalance in force distribution.
- Carefully pick the glue. Wet glue is usually much heavier than dry glue. Leave at least 15 minutes for drying of each newly connected element.
- Don’t use too much glue, and don’t compromise the surface that needs to be glued with dirty or greasy hands.
- Read glue instructions to learn its optimal use, and build bridges in well lit and clean environment.
- Manually test the strength of each toothpick before gluing. If the toothpick flexes, discard it.
- Most bridges fail not because of the snapping of the toothpicks, but because of badly glued joints.
- Joints of the bridge can be re-coated with additional glue.
- Building more complicated structures like arches is not easy. The best way to create curved beams is to draw its shape on a construction paper and starting to glue sticks on top of the paper following the cure. You can secure the glued sticks to the paper by the array of small pins.
- Make sure that bridge glue is completely dried before presenting it in a competition or a load-bearing test. Two days of drying is enough.
- Store bridge in a dry environment.
- The only way to fully test to load capacity of a bridge is to load it with so much weight that the bridge snaps.
- You can more easily determine the weak-points of the bridge if you film its moment of breaking with the high-speed camera.
