Popsicle Bridges - How to Build a Popsicle Stick Bridge
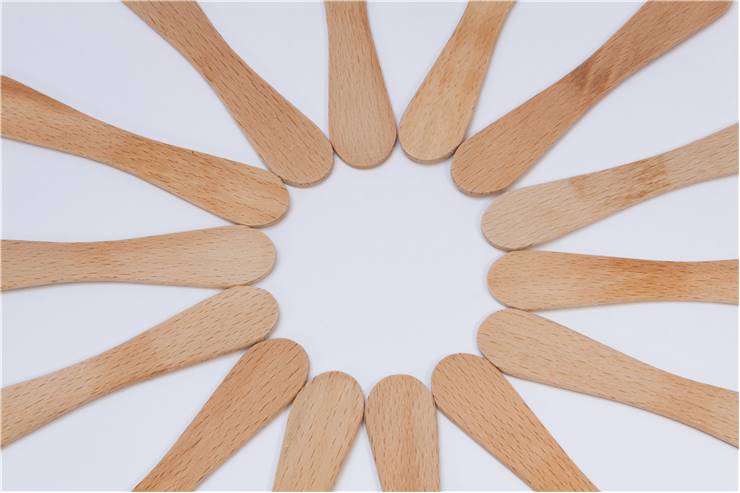
Popsicle stick bridge is a simple bridge structure that anyone can design and create in their home, school or at work. It’s only components are ordinary wooden popsicle sticks (that can be gathered either by eating ice creams or by purchasing sticks in bulk), wood glue and optionally small clamps that will keep stick firmly together while the glue is drying. A good beginner-grade popsicle stick bridge can be created with as little as seven sticks, but more elaborate models can use hundreds of them. That kind of amount is enough even to emulate look and functionality of large real-world bridges. Mere 100 popsicle sticks can be arranged and glued together into the style of Howe Truss bridge that can by itself carry the weight of over 200 pounds. Large and more elaborate popsicle bridges can withstand the weight of over 3,000 pounds!
Construction of popsicle stick bridge can be not only great exercise for testing your structurally stable bridge designs but also a fun spare time activity that can you can use to test theories, engage in social interactions with fellow builders and even take part of popsicle stick bridge building competitions that have strict rules, grading systems and procedures for testing the load-bearing capability of bridges - single weight in the middle of the bridge, large heavy rod that is placed across almost entire deck of the bridge, and even testing the internal shape of the deck area where a wooden cube must travel across the deck of the bridge with no hits on the internal bridge structure. Some competitions are focused around themes such as limited popsicle stick number, targeting the desired span on the bridge, timed competition or emulating the look of real bridges. Popsicle stick bridges can be made either from regular sticks, or they can be cut into smaller pieces so that more elaborate designs can be achieved.

How to Make a Model Bridge out of Popsicle Sticks
Instructions for building simple popsicle stick bridge:
- Gather your basic materials – Popsicle sticks, wooden glue, small clamps. If you want a more elaborate design, make sure you have construction paper, pencil, scissors or shears for cutting sticks, yardstick or ruler and large, clean working space where you can design, plan and create the bridge.
- Decide what kind of bridge you want to create - This includes span on the bridge, truss design, presence of non-standard stick sizes or decorations. A simple blueprint can help a lot when you are deep in production and want to refresh yourself on the bridge parts you need to glue together.
- Plan for the creation of all bridge parts – Ordinary truss bridge (for example simple Warren truss bridge) needs to have crosswise floor beams and struts, deck, longways for laying stringer beams beneath the deck, eternal frame made from squares divided into triangles, cross bracing at the top of the bridge and sway bracing beneath the top crosswise struts.
- Start with the gluing – Easiest place to start are the two lower truss beams which can be made from 3 layers of sticks. Then move to top truss beams, external frame, and other parts of the bridge. Remember that wood glue needs time to glue popsicle sticks properly. Secure the glued areas with clamps that provide firm and equal pressure and leave them to dry up for up to 15 minutes.
- Make constant measurements while gluing – Once you glue sticks together, there is no going back!
- Slowly assemble bridge pieces together – Most common approach is to build truss walls and then unite them with cross braces at both ends of the bridge. After enough cross braces are placed, you can then glue together decking and place it on top of the bridge frame. For the end add upper support beams that connect the top of the both truss walls.
- Test how much weight your bridge can hold – If you want to do this step, know that it can very easily lead to the destruction of your bridge. You can never know how much your bridge can carry until you test it with a weight that can break it.
Popsicle Stick Bridge Tips
Useful tips for popsicle stick bridge construction:
- Practice will make you better.
- Measure twice and cut once.
- Don’t use too much glue. If it starts dripping from the joined areas, you are using too much.
- Humidity can change the weight and durability of the bridge. Moisture can be extracted by storing the bridge together with grains of rice or packets of silica gel.
- Dirty hands can apply skin oil or grease to the glue joints.
- Lateral bridge twists can be prevented with lateral bracing.
- Read the glue instructions to learn its optimal use.
- Shorter sticks have stronger compression strength.
- Wood has same tension no matter how long the stick is.
- Stick can be sanded out if you want to ensure perfectly flat areas for gluing.
- Build bridges in well lit and clean environment.
- Keep records of your bridges, so that you can revisit them and redesign them later.
- When testing the maximum load of your bridge, it is very useful to film the moment when the bridge break (even more so with high-framerate camera). That way you can more easily spot which part of the bridge snapped first.
- If you are making a bridge for competition, test for maximum load only if you have enough time to build another bridge (whose glue will be fully dried before the competition starts).
- Glue is best dried in warm and dry environment.
- Storing of the bridge is best in low-humidity rooms.
